June 10, 2024
Water Safety Tips From an Expert
Summer’s officially here, and so is plenty of time spent on the water! Whether you’re boating, tubing or taking a dip, practicing proper water safety and recognizing the specific dangers of swimming in rivers, lakes and other bodies of open water is essential.
Our team spoke with City of Waco Assistant Emergency Management Coordinator Tim Jeske and gathered information from our teams’ medical experts to provide you with this complete guide to summer water safety, including valuable water safety tips and educational resources to help you and your loved ones swim safely.

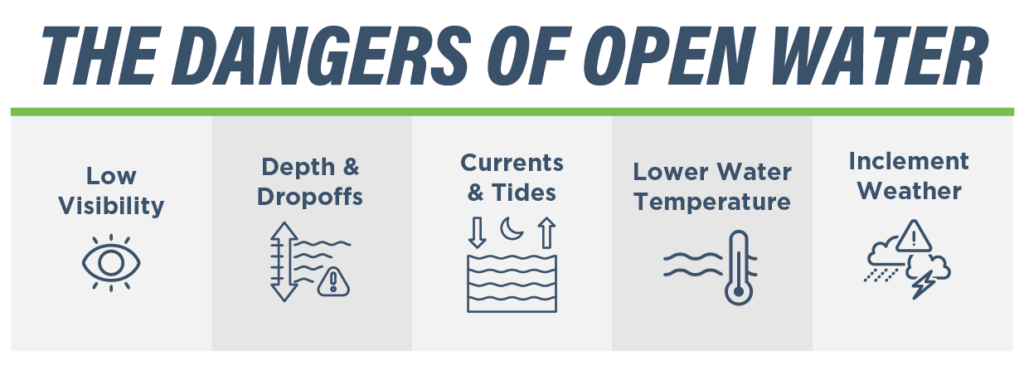
Open water, such as rivers and lakes, contains hazards that aren’t as common in enclosed home pools. Even if you’re a strong swimmer, it’s important to be aware of the unique challenges that open water presents.
DANGER ONE: Low Visibility
Unlike most pools, it’s difficult to see the bottom of a river or a lake. Murky water makes it hard to see if a swimmer goes under the surface or a child falls in, so it’s especially important to stay alert and pay attention to your surroundings while in open water. In a 2019 study, Alive Solutions put 14 different swimsuits in a swimming pool and a lake to determine which colors stood out the most.
- Neon orange, neon yellow, and neon green were the most visible colors in lakes and pools. When these colors have patterns, they become less visible in water. Bright, solid-colored swimsuits are the best choice for your child!
- Neon pink performed well in pools but not as well in lakes.
- The least visible colors included white, blue and green.
Hazards like rocks, logs and pieces of glass are also easily hidden, so watch your step and wear water shoes! The safest way to enter a body of open water is with your feet first, slowly wading further and further out.
DANGER TWO: Depth & Dropoffs
Low visibility also means varying depths and sudden drop-offs in open water can be hard to detect. Unlike pools, rivers and lakes don’t typically have distance and depth markings, requiring swimmers to exercise additional caution. “Follow the rules of the river or lake, and don’t venture outside the designated swimming areas,” says Tim Jeske. “You don’t know what the bottom looks like — it could drop from four feet to eight feet just like that.” Don’t dive headfirst into water if you don’t know how deep it is. Staying within marked areas helps ensure safety by minimizing encounters with unexpected hazards.
DANGER THREE: Currents & Tides
Currents in rivers can be unpredictable. Although they may be visible on the surface, some can flow undetected underwater. Waves and rip currents in lakes can also create a dangerous situation for even the most skilled swimmers. Before children swim in open water, make sure they know how to handle a crashing wave and escape a strong current.
DANGER FOUR: Lower Water Temperatures
When swimming in open water, it’s critical to dress for the water temperature, not the air temperature. Lakes, rivers and other bodies of open water are typically colder than pool water, which can impact your ability to swim. Yes, even in Texas, there are spring-fed bodies of water that stay much colder than the air temperature all summer long. According to the National Weather Service, falling into cold water can result in shock and lead to panic or even drowning. If you’re traveling somewhere chilly, wear a wetsuit or other thermal clothing to shield yourself from the cold.
DANGER FIVE: Inclement Weather
The final key danger to watch for is paying close attention to the weather. Open water is far more susceptible to weather changes than pools. Heavy rain and flooding can create strong currents and dangerous swimming conditions, and man-made reservoirs can go from being shallow to overflowing in no time. Always monitor the weather and be prepared to leave the water at the first sign of bad weather to keep yourself and others safe.

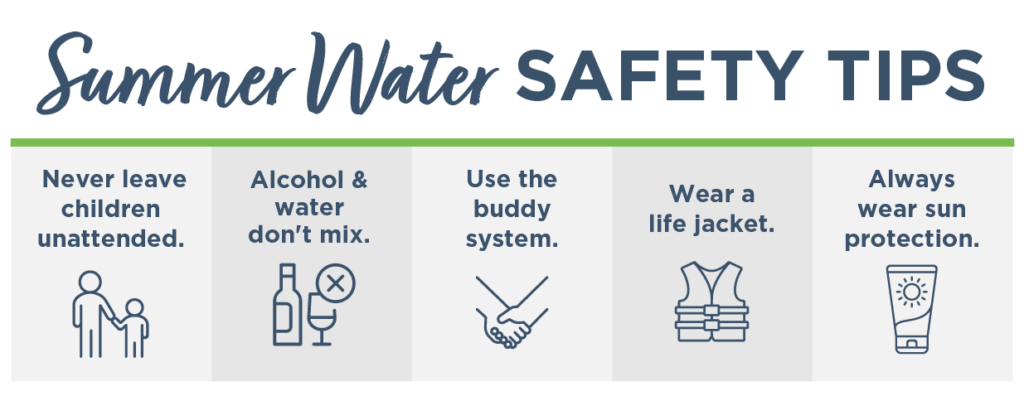
Tip #1: Never leave children unattended.
This tip may seem like common sense, but we may feel comfortable leaving children unattended if they know how to swim. Lakes and rivers generally don’t have lifeguards on duty, so paying attention and having at least one adult supervising the area is especially important.
We all need to use the restroom, grab a snack or check our phone every once in a while. If you take a break, make sure that another adult is watching over your group of swimmers. Not paying attention for even a short time can have deadly consequences.
“It only takes half a cup of water in your lungs to drown,” says Tim Jeske. “People can drown within a few seconds. A child can slip under the water just like that.”
If someone is showing signs of drowning, follow these steps from the American Red Cross to perform drowning CPR. Drowning CPR is the combination of cardiopulmonary resuscitation (repeated chest compressions) and delivering rescue breaths (mouth-to-mouth resuscitation).
Drowning CPR for Adults
- Immediately call 911.
- Check the victim’s responsiveness using the Shout-Tap-Shout method.
- Shout to get a response from the victim, tap their shoulder and shout again.
- Place the victim on their back on a firm, flat surface.
- Center both of your hands on their chest with your shoulders directly over your hands. Provide 30 chest compressions at a depth of 2 inches. Allow their chest to return to normal after each compression.
- One of the most important parts of delivering chest compressions is maintaining a consistent tempo. Stick to the rhythm of “Stayin’ Alive” by the Bee Gees (103 beats per minute).
- After the first 30 compressions, open the victim’s airway by slightly tilting their head back. Pinch their nose shut, take a normal breath and make a complete seal over the person’s mouth with your mouth.
- Provide two rescue breaths. Ensure each breath lasts about one second and you see the victim’s chest rise. Allow air to exit before administering the next breath.
- Alternate between 30 chest compressions and two rescue breaths. Do not stop until help arrives or you notice an obvious sign of life.
Drowning CPR for Infants & Children
- Immediately call 911.
- Check for responsiveness using the Shout-Tap-Shout method.
- If you’re performing drowning CPR on an infant, tap the bottom of their foot instead of their shoulder to check for a response. For children, you can tap their shoulder.
- Place the victim on their back on a firm, flat surface.
- For infants, place both thumbs side by side on the center of the infant’s chest. Provide 30 chest compressions at a depth of 1.5 inches. Allow their chest to return to normal after each compression. For children, follow the same method you would use on an adult.
- After the first 30 compressions, open the victim’s airway by slightly tilting their head back. Pinch their nose shut, take a normal breath and make a complete seal over the person’s mouth with your mouth.
- Provide two rescue breaths. Ensure each breath lasts about one second and you see the victim’s chest rise. Allow air to exit before administering the next breath.
- Alternate between 30 chest compressions and two rescue breaths. Do not stop until help arrives or you notice an obvious sign of life.
Tip #2: Alcohol and water don’t mix.
According to the CDC, alcohol use is involved in up to 70% of deaths associated with water recreation. Alcohol use also contributes to nearly one in four emergency department visits for drowning and about one in five reported boating deaths in the United States. The bottom line? Your drink can wait — no life is worth it. Alcohol dulls your senses, clouds your judgment and impedes your ability to supervise children and stay ready to act to protect others.
Tip #3: Use the buddy system.
Always swim with a buddy, no matter how confident you are in your swimming abilities. You never know what could happen out on the water, and you’d rather be safe than sorry.
Tim Jeske’s number one piece of water safety advice? “Never swim alone.” This extends beyond just swimming. Whether you’re boating, kayaking, canoeing or participating in any other water activity, do it with a buddy and always inform someone who isn’t on the trip about your plans. Let them know where you’ll be and when you expect to return. This precaution ensures that help can arrive more quickly if something goes wrong.
Tip #4: Wear a life jacket.
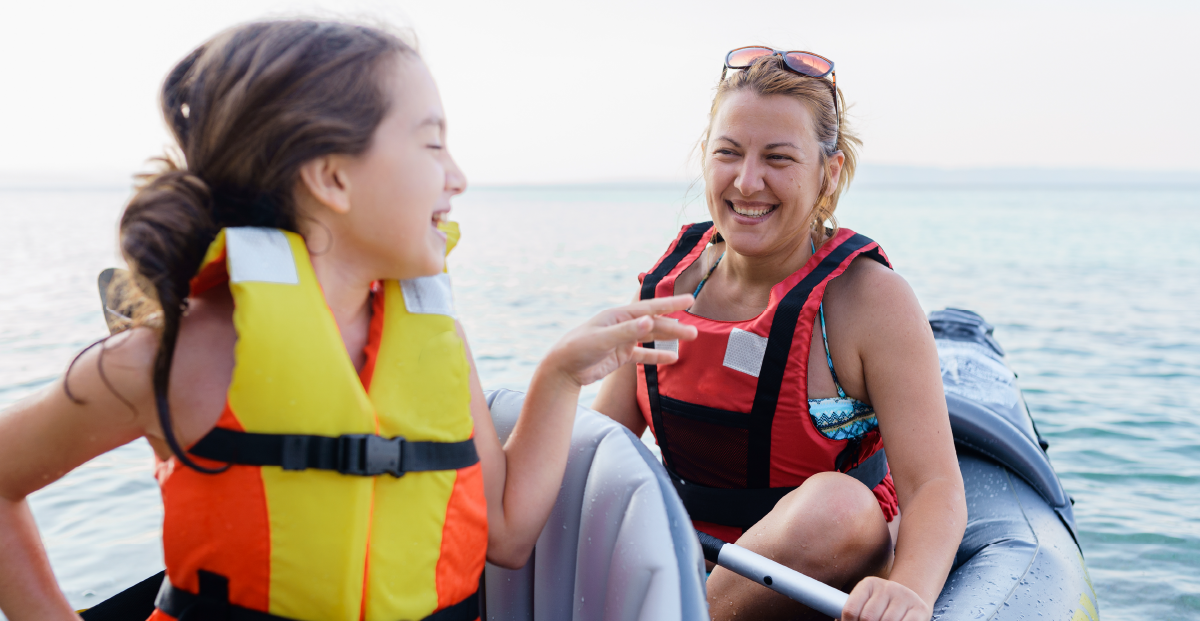
According to Texas state law, a life jacket must be worn by each person aboard a vessel. All children under 13 are required to wear a U.S. Coast Guard-approved life jacket on recreational vessels that are under 26 feet long and underway, or on the water. This law also applies when the vessel is drifting or not at anchor.
“A common misconception is that you don’t need a life jacket if you know how to swim,” says Tim Jeske. “It takes the average adult 60 seconds to drown. It only takes 30 seconds to put on a life jacket, and it buys you time to get rescued.”
If you wear a life jacket that doesn’t fit properly, it defeats the purpose of wearing it in the first place. Once your life jacket is properly fastened, raise your arms above your head, grab the shoulders and gently pull up. If the life jacket rides up over your chin or face or there’s room between your shoulders and the life jacket, your life jacket is too loose. Once you find a life jacket that passes this test, you’re good to go!
Tip #5: Always wear sun protection.
Although sunlight and vitamin D are essential to human survival, you don’t want too much of a good thing. Every day, approximately 9,500 people in the United States are diagnosed with skin cancer. Even if the sky is overcast, clouds can only filter up to 25% of the sun’s UV rays. Wear sun protection while having fun on the water this summer, no matter the weather.
The American Academy of Dermatology recommends that all children and adults wear water-resistant, broad-spectrum protection sunscreen with an SPF of 30 or higher when spending time outdoors. Many retailers also offer sun-protective swimwear and clothing — look for UPF (Ultraviolet Protection Factor) labels while shopping. Last but not least, don’t forget your hat and sunglasses!
Swim Lessons and Water Safety Education Resources in Central Texas
The best way to protect yourself and your loved ones while enjoying time on the water is through education. Find your town below to learn about swim lessons and educational resources available in your area.
Tim Jeske’s Favorite Water Safety Education Resources
- The U.S. Army Corps of Engineers website provides over a dozen valuable water safety tips in English and Spanish.
- Bobber the Water Safety Dog teaches children about water safety through fun, interactive activities.
Gatesville Swim Lessons
- The Gatesville City Pool offers swim lessons for children ages 4-12 starting May 28th. The program lasts from May 28th to July 26th. Registration is currently open and will remain open until July 21st or when slots fill up — you still have time to sign up your child!
Waco Swim Lessons
- The Greater Waco YMCA offers swim lessons for swimmers as young as six months to adults. Whether you’re a parent wanting to swim with your child as they learn or you’re an adult wanting to improve your skills, they have plenty of options.
- Swim Kids Waco provides summer swim lessons in Waco, Woodway, Hewitt, Lorena, West, McGregor, China Spring and Robinson. No matter where you’re located, there’s probably a session available for your child!
Temple Swim Lessons
- Check out Sammons Park Indoor Pool for parent and child, preschool aquatics, Learn to Swim and adult swim lessons starting in June.
By remembering these tips and resources while on the water, you and your family can have a safe, fun-filled summer!
 Skip to content
